> ## Documentation Index
> Fetch the complete documentation index at: https://engage-docs.frigade.com/llms.txt
> Use this file to discover all available pages before exploring further.
# Frigade Engage Quickstart Guide
> Get set up with Frigade Engage in less than 15 minutes
 Using [Claude Code](https://claude.com/claude-code)? Skip the manual setup with the [Frigade Engage Claude Code Skill](https://github.com/FrigadeHQ/frigade-engage-skill) — describe the flow you want and Claude creates it in Frigade and wires it into your codebase for you.
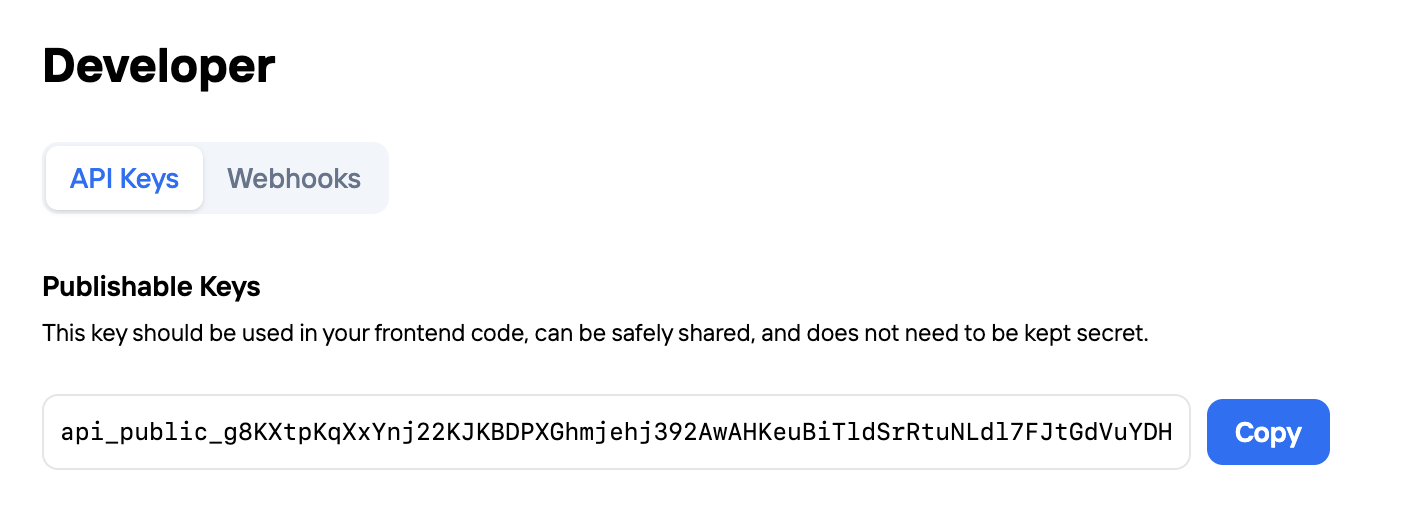
The first thing to do is sign up for a Frigade account at [frigade.com](https://app.frigade.com/sign-up). Then, locate your Frigade public API key in the [Developer](https://app.frigade.com/developer) tab of the dashboard.
Using [Claude Code](https://claude.com/claude-code)? Skip the manual setup with the [Frigade Engage Claude Code Skill](https://github.com/FrigadeHQ/frigade-engage-skill) — describe the flow you want and Claude creates it in Frigade and wires it into your codebase for you.
The first thing to do is sign up for a Frigade account at [frigade.com](https://app.frigade.com/sign-up). Then, locate your Frigade public API key in the [Developer](https://app.frigade.com/developer) tab of the dashboard.
 Install @frigade/react with your package manager.
```txt npm theme={"system"}
npm install @frigade/react
```
```txt pnpm theme={"system"}
pnpm install @frigade/react
```
```txt yarn theme={"system"}
yarn add @frigade/react
```
Next, add the Frigade `Provider` component to your app and plug in your public API key from earlier. We recommend wrapping your entire application to ensure that the SDK is available everywhere.
Below are examples for how to install the Provider in popular React frameworks.
```tsx React theme={"system"}
// Add this to your main application file, e.g., App.tsx or index.tsx
import * as Frigade from "@frigade/react";
// Replace this with your Frigade public API key
const FRIGADE_API_KEY = "api_public_abcd1234";
export const App: React.FC = () => {
return (
{/* ... */}
);
};
```
```tsx Next.js (App router) theme={"system"}
// frigade-provider-wrapper.tsx
"use client";
import * as Frigade from "@frigade/react";
import { ReactNode } from 'react';
// Replace this with your Frigade public API key
const FRIGADE_API_KEY = "api_public_abcd1234";
interface FrigadeProviderWrapperProps {
children: ReactNode;
}
const FrigadeProviderWrapper: React.FC = ({ children }) => {
return (
{children}
);
};
// layout.tsx
export default function Layout({ children }: { children: ReactNode }) {
return (
{children}
);
}
```
```tsx Next.js (Pages router) theme={"system"}
// Add this to your _app.tsx file
import * as Frigade from "@frigade/react";
import { AppProps } from 'next/app';
// Replace this with your Frigade public API key
const FRIGADE_API_KEY = "api_public_abcd1234";
function MyApp({ Component, pageProps }: AppProps) {
return (
);
}
export default MyApp;
```
Great! Now you're ready to start building.
**Add a Flow to your application**
For this example, let's add a `Banner` to our product.
1. Click the **Create** button at the top of any page in the dashboard. Select the **Banner** component.
2. On the Flow detail page, click the **Deploy** button. Copy the code snippet to your clipboard.
3. Next, place the `` component in your application. Make sure to do this in a subcomponent of the `` component.
```tsx theme={"system"}
import * as Frigade from "@frigade/react";
export const MyComponent = () => {
return ;
};
```
**View the Flow**
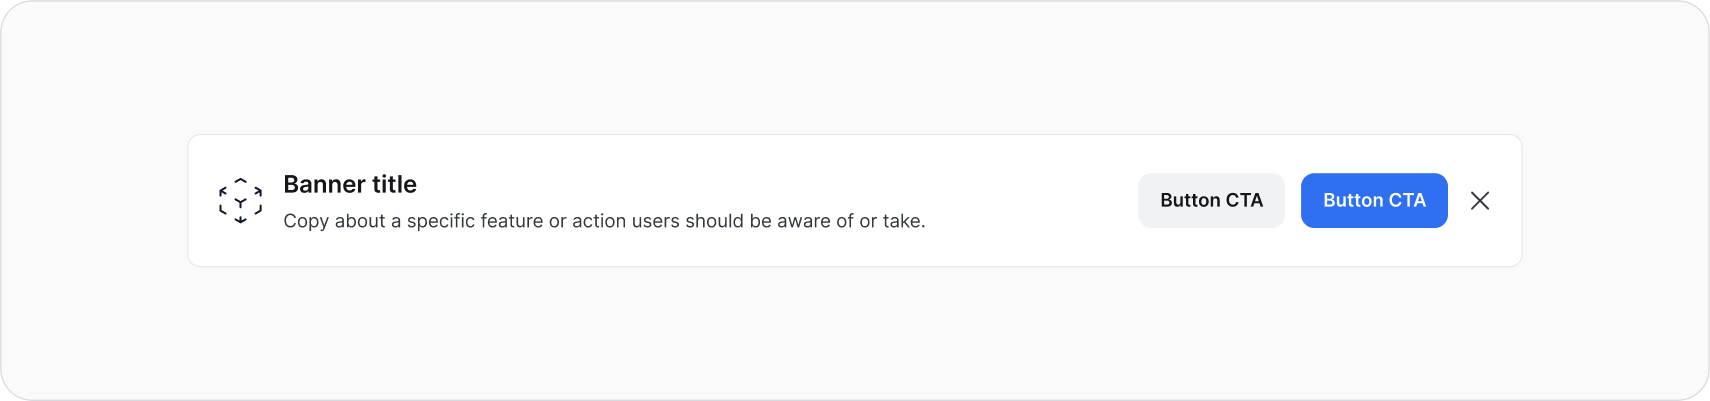
Tada! You should now see a shiny `Frigade Banner` where you placed it.
Install @frigade/react with your package manager.
```txt npm theme={"system"}
npm install @frigade/react
```
```txt pnpm theme={"system"}
pnpm install @frigade/react
```
```txt yarn theme={"system"}
yarn add @frigade/react
```
Next, add the Frigade `Provider` component to your app and plug in your public API key from earlier. We recommend wrapping your entire application to ensure that the SDK is available everywhere.
Below are examples for how to install the Provider in popular React frameworks.
```tsx React theme={"system"}
// Add this to your main application file, e.g., App.tsx or index.tsx
import * as Frigade from "@frigade/react";
// Replace this with your Frigade public API key
const FRIGADE_API_KEY = "api_public_abcd1234";
export const App: React.FC = () => {
return (
{/* ... */}
);
};
```
```tsx Next.js (App router) theme={"system"}
// frigade-provider-wrapper.tsx
"use client";
import * as Frigade from "@frigade/react";
import { ReactNode } from 'react';
// Replace this with your Frigade public API key
const FRIGADE_API_KEY = "api_public_abcd1234";
interface FrigadeProviderWrapperProps {
children: ReactNode;
}
const FrigadeProviderWrapper: React.FC = ({ children }) => {
return (
{children}
);
};
// layout.tsx
export default function Layout({ children }: { children: ReactNode }) {
return (
{children}
);
}
```
```tsx Next.js (Pages router) theme={"system"}
// Add this to your _app.tsx file
import * as Frigade from "@frigade/react";
import { AppProps } from 'next/app';
// Replace this with your Frigade public API key
const FRIGADE_API_KEY = "api_public_abcd1234";
function MyApp({ Component, pageProps }: AppProps) {
return (
);
}
export default MyApp;
```
Great! Now you're ready to start building.
**Add a Flow to your application**
For this example, let's add a `Banner` to our product.
1. Click the **Create** button at the top of any page in the dashboard. Select the **Banner** component.
2. On the Flow detail page, click the **Deploy** button. Copy the code snippet to your clipboard.
3. Next, place the `` component in your application. Make sure to do this in a subcomponent of the `` component.
```tsx theme={"system"}
import * as Frigade from "@frigade/react";
export const MyComponent = () => {
return ;
};
```
**View the Flow**
Tada! You should now see a shiny `Frigade Banner` where you placed it.
 **See users in the Flow**
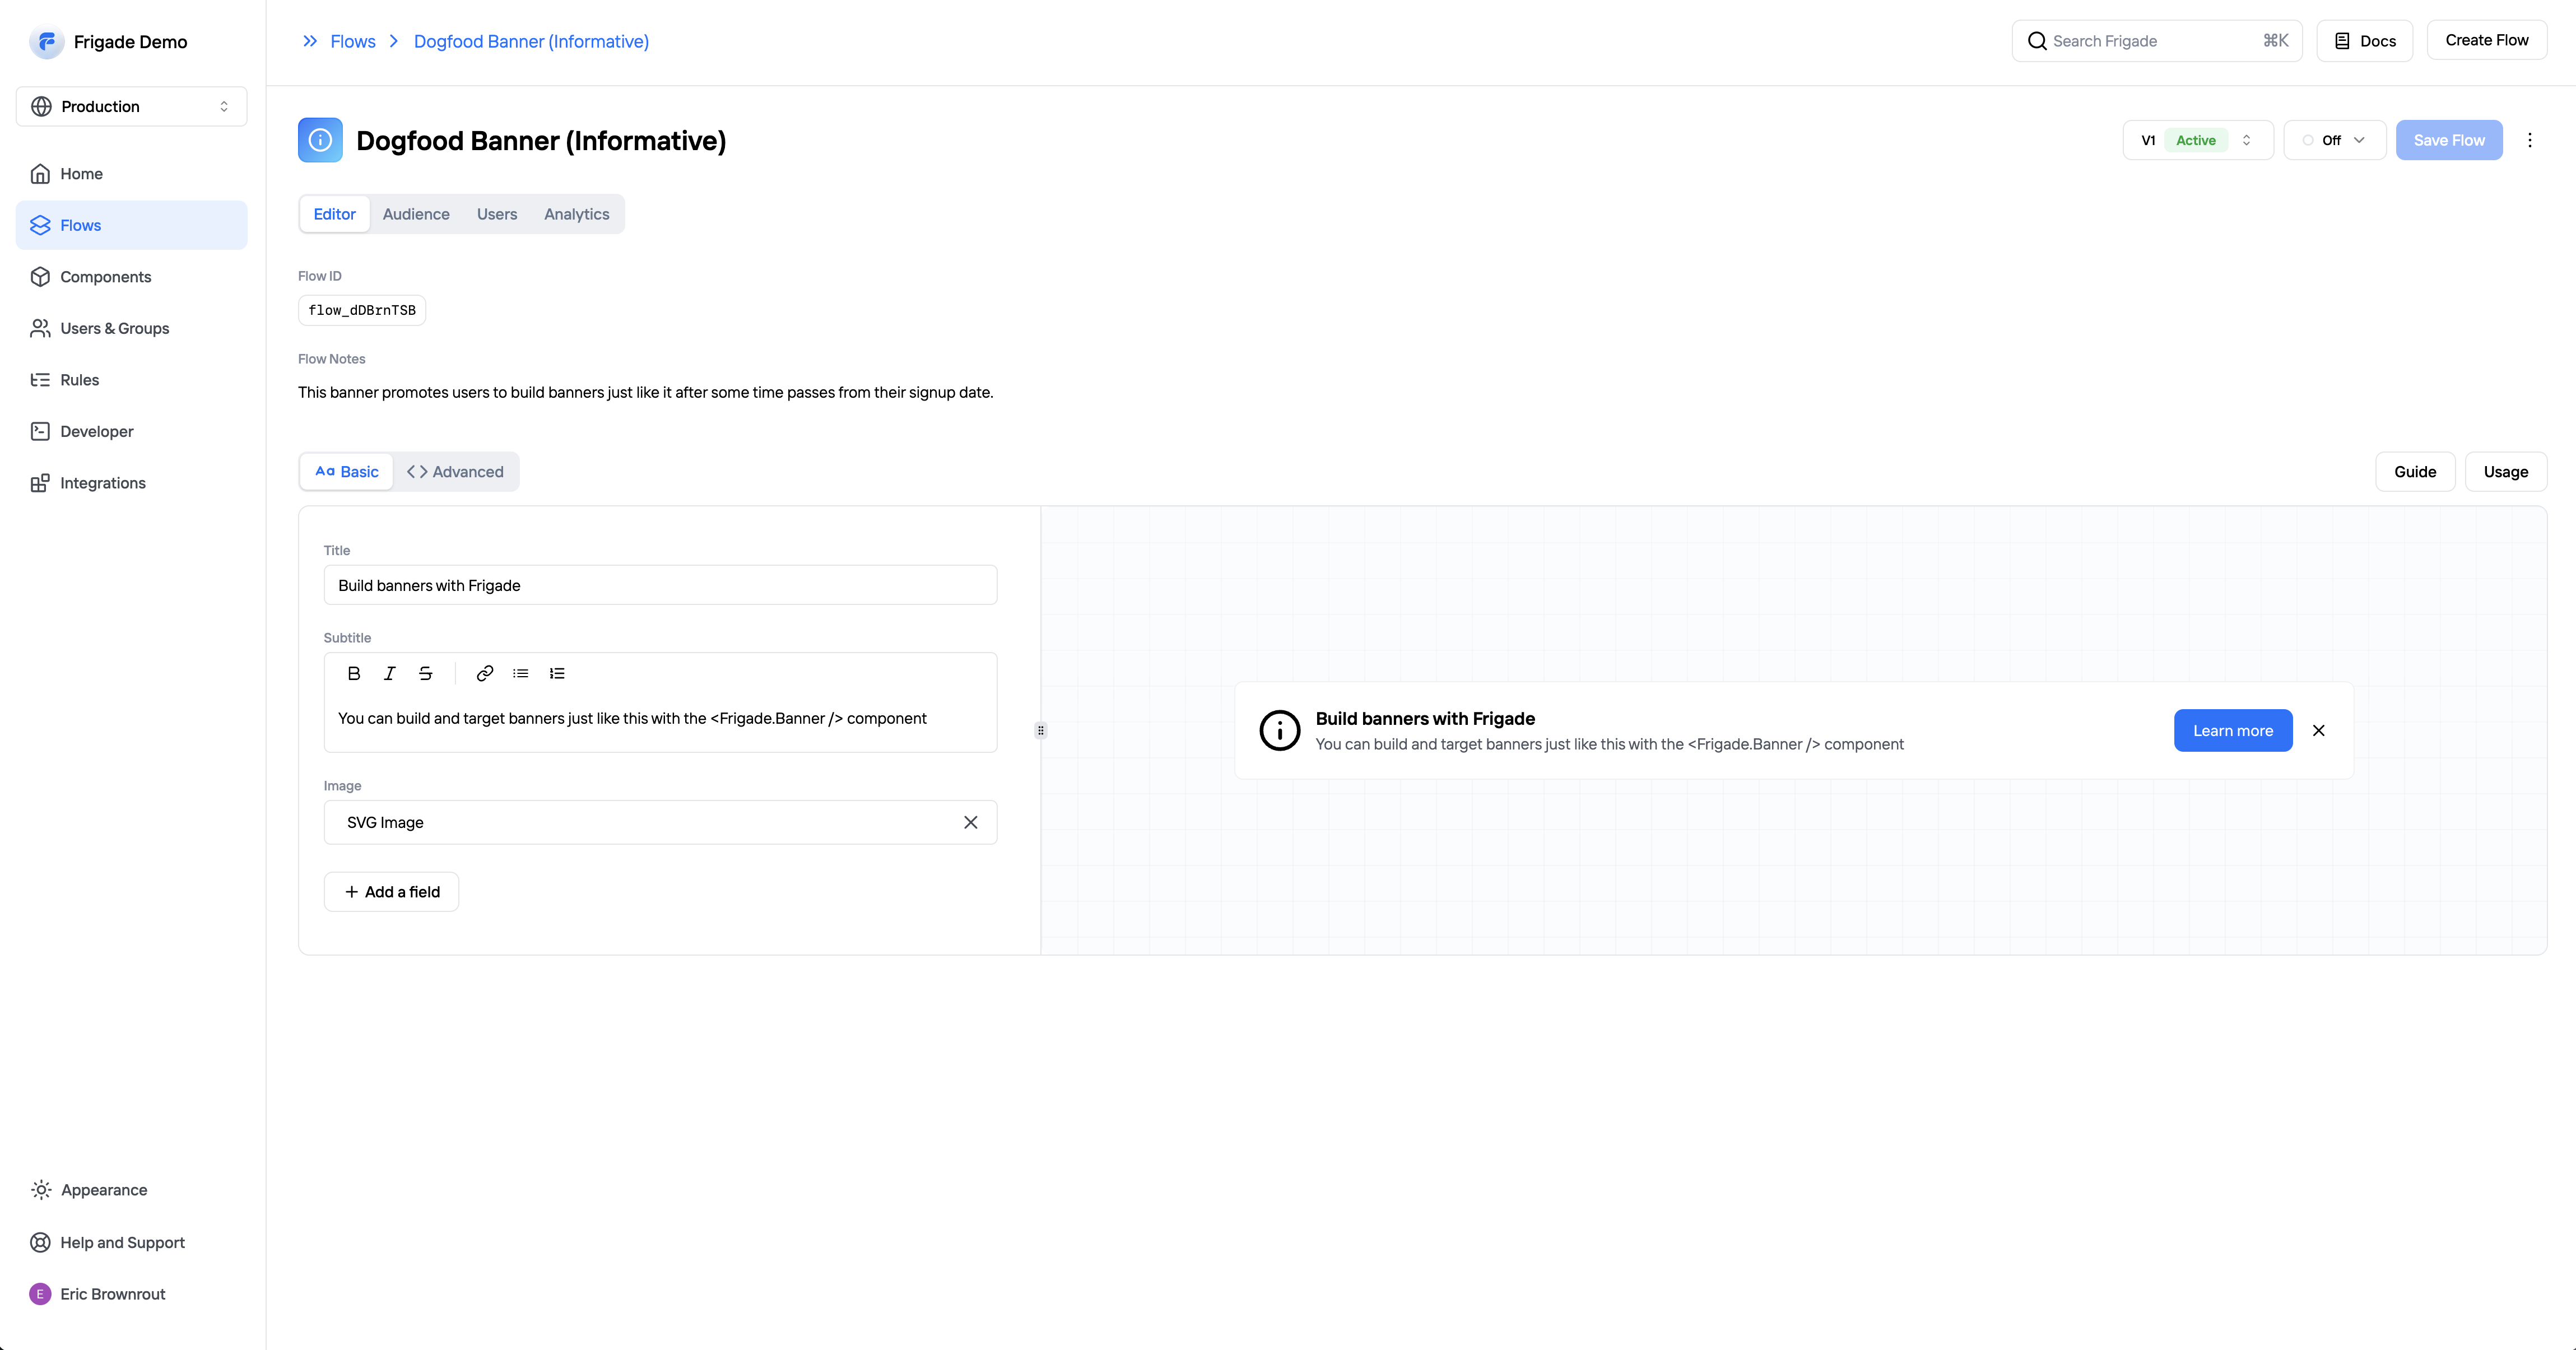
Once you interact with the Flow in your application, you should see your user appear in the users tab of the Flow detail page. You can reset a user's progress in the Flow from here, which is especially useful for testing.
**See users in the Flow**
Once you interact with the Flow in your application, you should see your user appear in the users tab of the Flow detail page. You can reset a user's progress in the Flow from here, which is especially useful for testing.
 Once a Flow is created, you can update it at any time from the dashboard.
1. Navigate to the [Flows](https://app.frigade.com/flows) page and select a Flow
2. In the Editor tab you can make changes with the basic or advanced editor
3. Make changes and click **Save** and Frigade will update the Flow in real-time
Check out the documentation for each component to see all the configuration options. Check out the [Banner](/component/banner) component for this quickstart demo.
Once a Flow is created, you can update it at any time from the dashboard.
1. Navigate to the [Flows](https://app.frigade.com/flows) page and select a Flow
2. In the Editor tab you can make changes with the basic or advanced editor
3. Make changes and click **Save** and Frigade will update the Flow in real-time
Check out the documentation for each component to see all the configuration options. Check out the [Banner](/component/banner) component for this quickstart demo.
 If you plan to make major changes to a Flow, we recommend [version control](/platform/versioning).
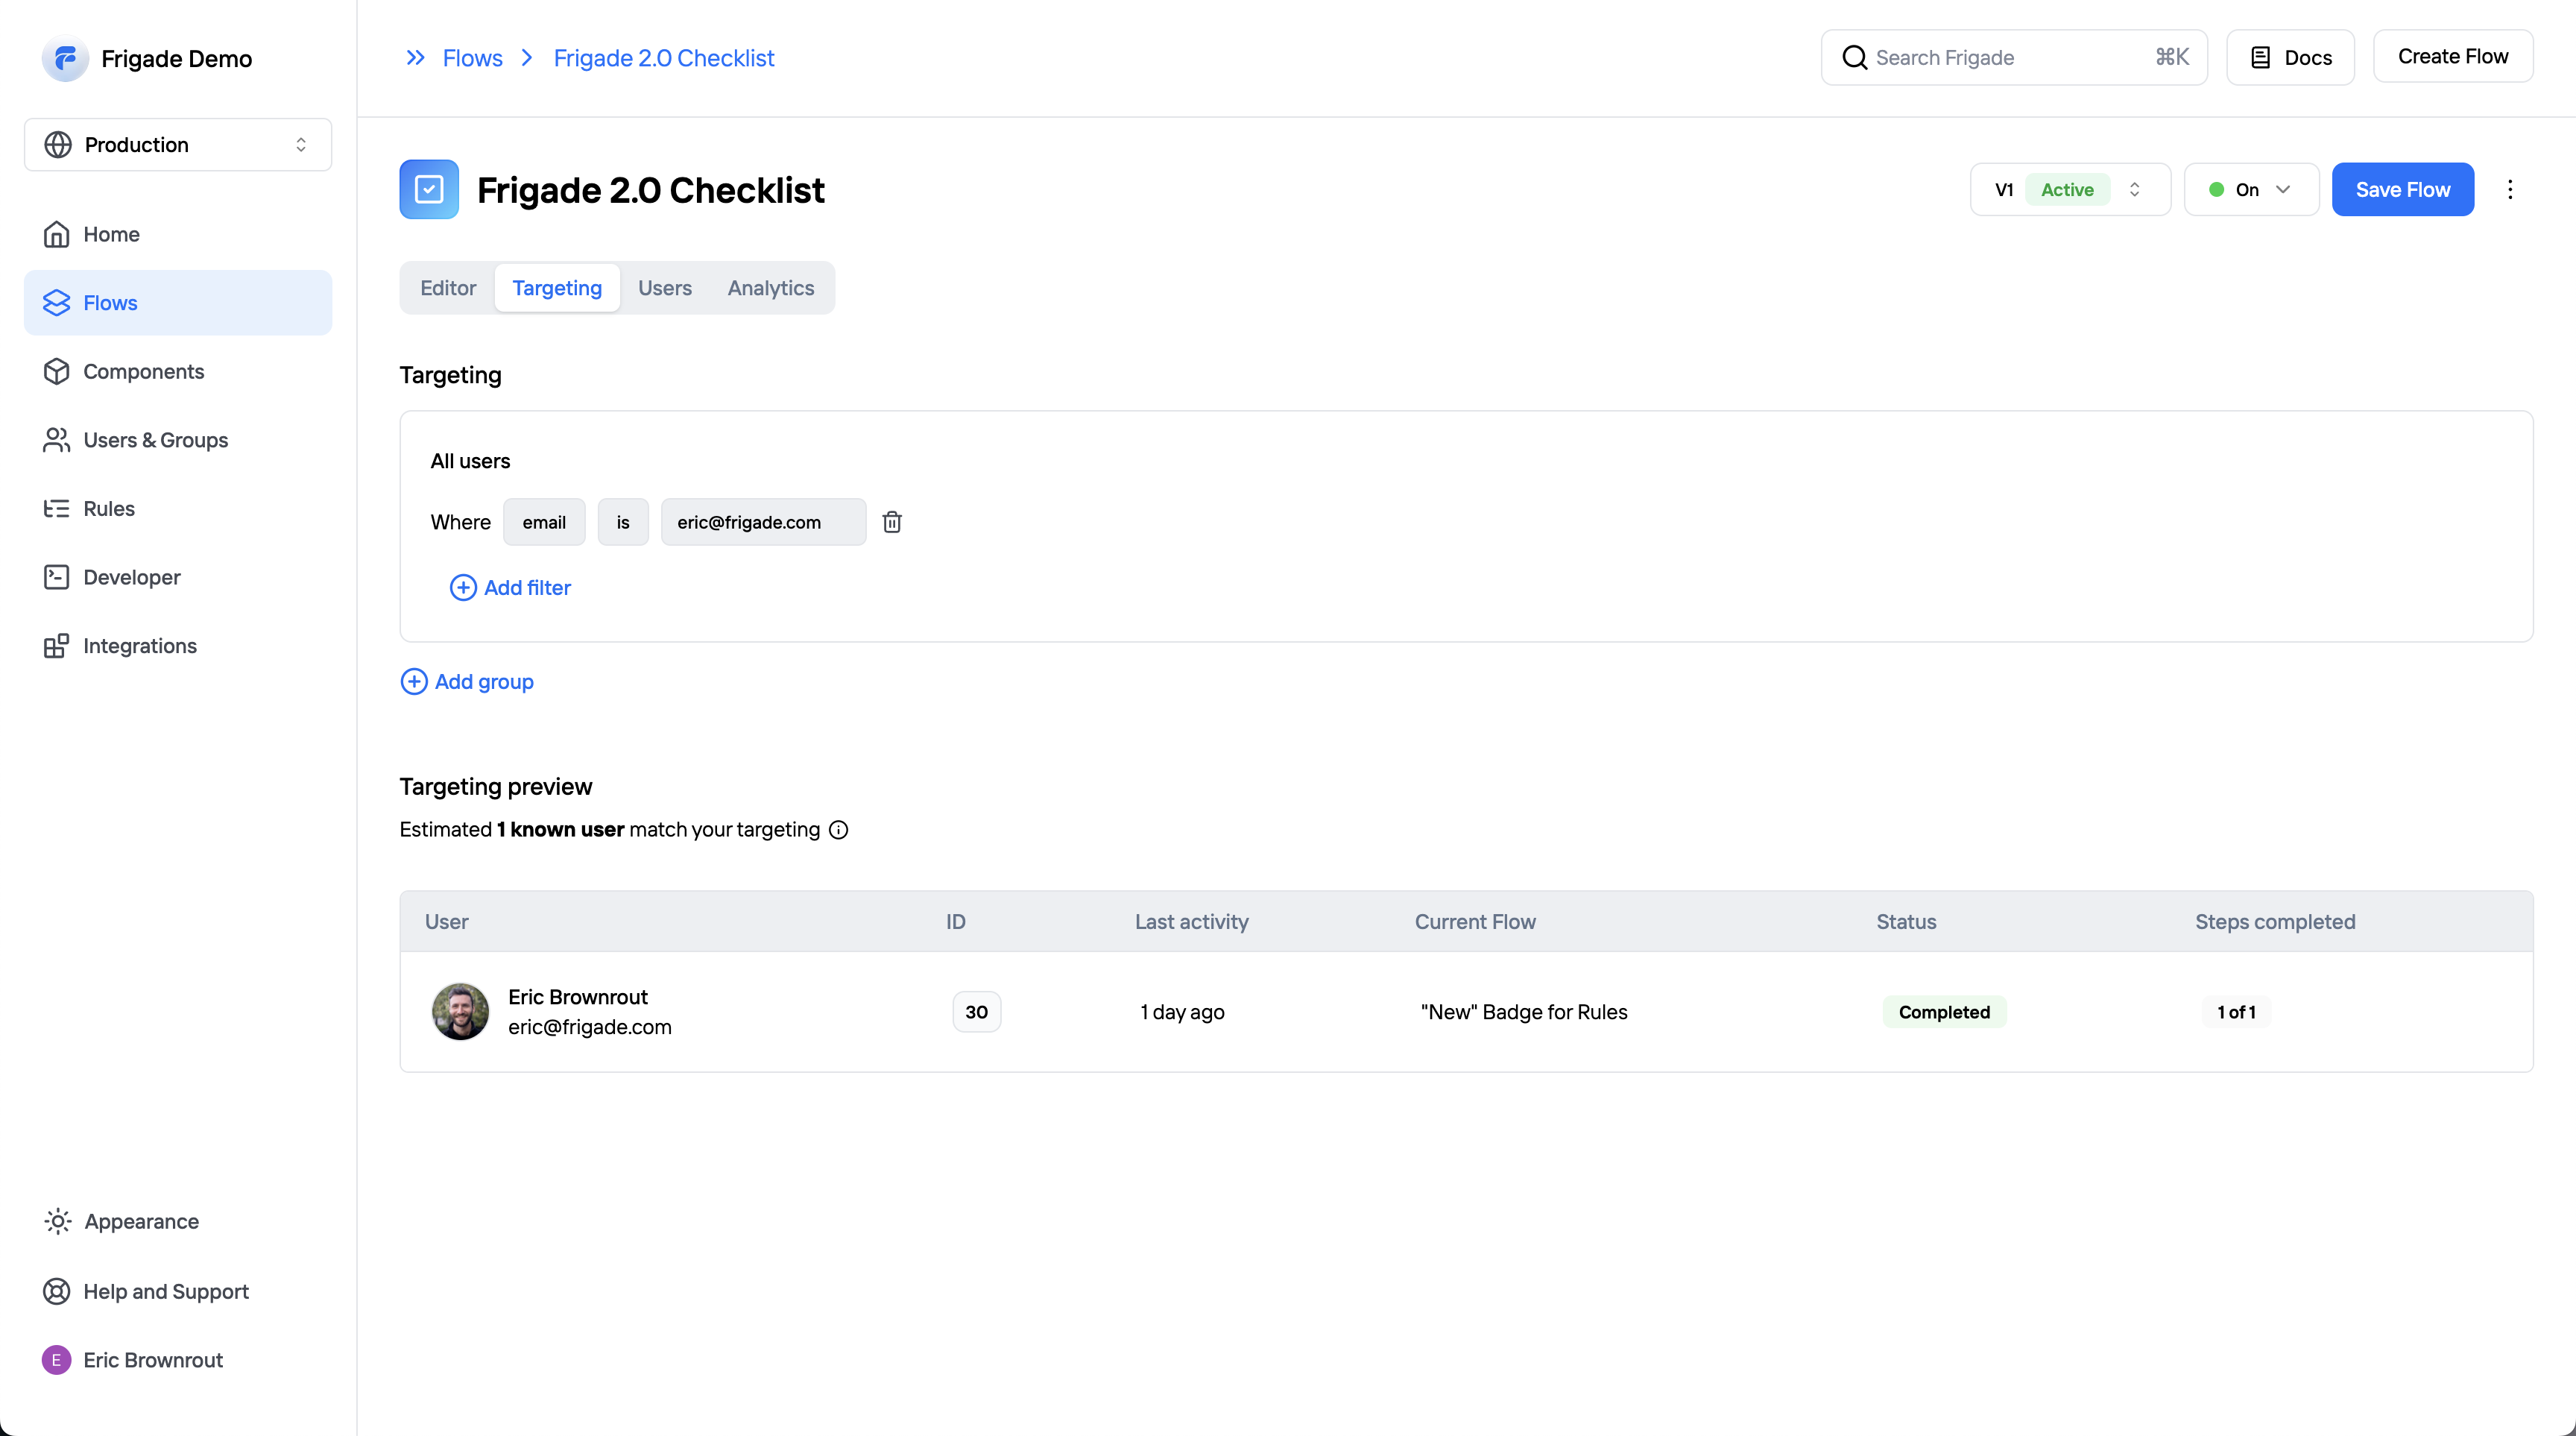
Sometimes you only want to show an experience to a specific user or group of users. Frigade makes this easy with [targeting](/platform/targeting).
1. Navigate to the Flows page and select a Flow
2. In the **Targeting** tab you can define the targeting for the Flow
3. Frigade makes sure the Flow is only shown to users that match your criteria
Check out [integrations](/integrations) to connect other platforms and import existing user segments for targeting.
If you plan to make major changes to a Flow, we recommend [version control](/platform/versioning).
Sometimes you only want to show an experience to a specific user or group of users. Frigade makes this easy with [targeting](/platform/targeting).
1. Navigate to the Flows page and select a Flow
2. In the **Targeting** tab you can define the targeting for the Flow
3. Frigade makes sure the Flow is only shown to users that match your criteria
Check out [integrations](/integrations) to connect other platforms and import existing user segments for targeting.
 Frigade is fully customizable. You can style components to fit seamlessly within your application. Styling documentation is covered [here](/sdk/styling/). You can also see a live demo of the theming system at [demo.frigade.com](https://demo.frigade.com).
When a pre-built Frigade UI component won't cut it, you can also build custom components with the Frigade SDK. See our custom component guide [here](/guides/custom).
You've set up your first Frigade Flow. Our docs cover additional functionality like [analytics](/platform/analytics), [no-code deployments](/platform/collections), and [environments](/platform/environments).
If you have questions or want to discuss your particular project, feel free to reach out to us at [support@frigade.com](mailto:support@frigade.com) or [book a demo](https://cal.com/team/frigade/frigade-demo).
Frigade is fully customizable. You can style components to fit seamlessly within your application. Styling documentation is covered [here](/sdk/styling/). You can also see a live demo of the theming system at [demo.frigade.com](https://demo.frigade.com).
When a pre-built Frigade UI component won't cut it, you can also build custom components with the Frigade SDK. See our custom component guide [here](/guides/custom).
You've set up your first Frigade Flow. Our docs cover additional functionality like [analytics](/platform/analytics), [no-code deployments](/platform/collections), and [environments](/platform/environments).
If you have questions or want to discuss your particular project, feel free to reach out to us at [support@frigade.com](mailto:support@frigade.com) or [book a demo](https://cal.com/team/frigade/frigade-demo).